
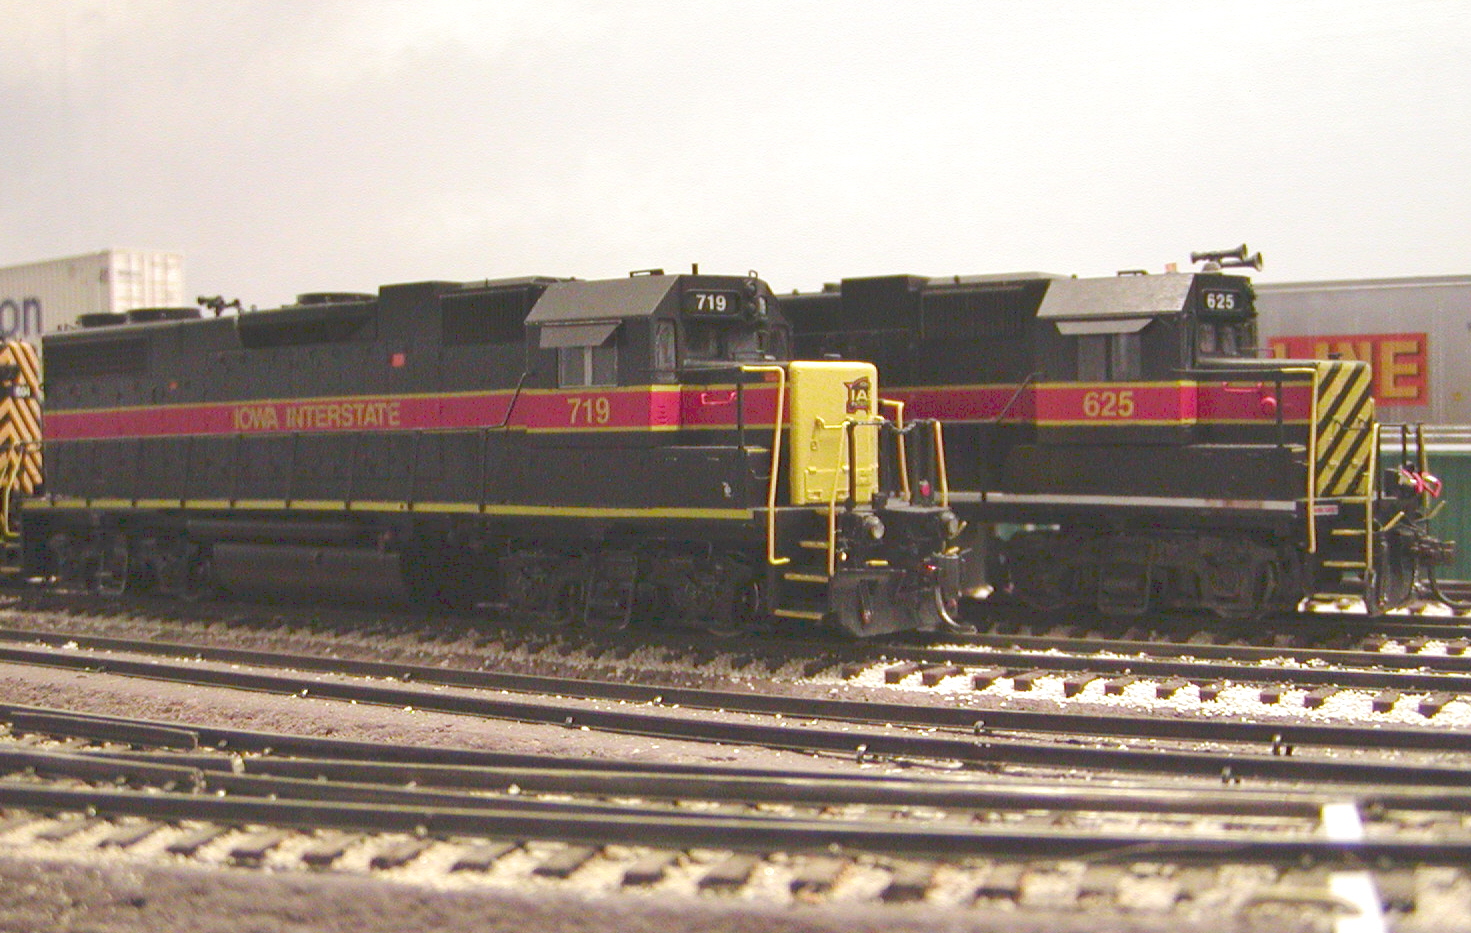
IAIS 719, the first unit outshopped with a P2K early-phase GP38-2 shell on an Atlas drive. The steps I followed for the conversion are as follows:

|
 All images on this site are copyrighted by their respective creators, and used with permission. All images on this site are copyrighted by their respective creators, and used with permission.All Iowa Interstate logos and trademarks are property of Iowa Interstate Railroad, Ltd. and Railroad Development Corporation. Questions? Comments? Please email us at contact@iaisrailfans.org |
Last modified on April 26, 2010, at 11:40 PM |